


As a Developer, you should always have a website/blog of your own to showcase your skills as well as for your personal branding. I know most of us including me must have created our own bucket list out of which one would be to have our own website.
Since I am just done with my blog creation, I thought why not write my very first article on the same in order to help the people like you who want to have a website but struggle to find the exact way of creating one.
I will try my level best to make the steps as simple as possible so that you can also have one for yourself.
So, here are the steps you need to follow:
- Log in to Google Domains --> I chose Google as the service provider as it's trustworthy and the best in terms of security and maintenance.
- Tap the button
Find the perfect one--> It will take you to the plain input text box where you need to type the domain name of your choice. (For ex: paurush.dev , in my case)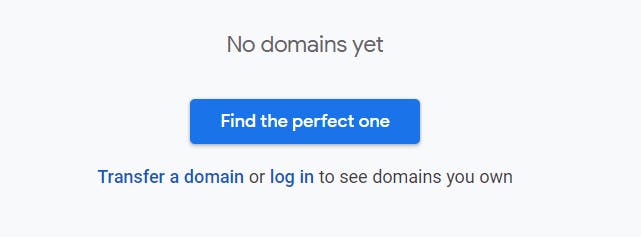
- It will list the result with prices if the domain name you chose is available.
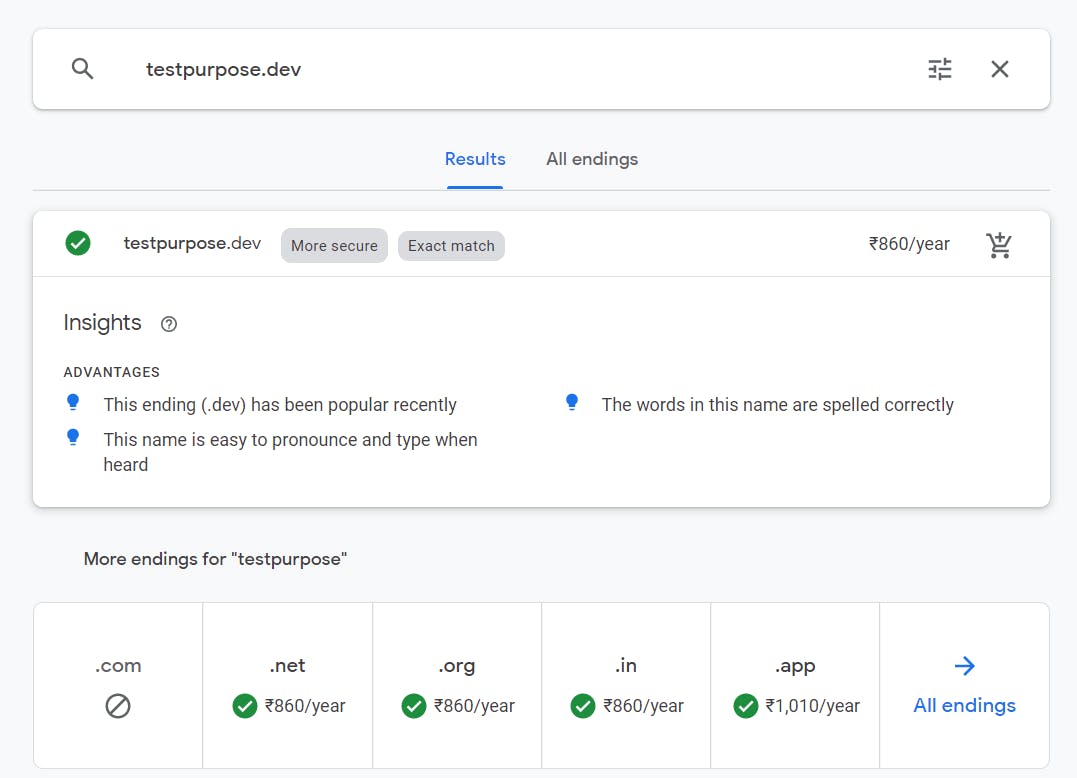
- Once you are done with the domain name selection, click on the cart icon on the right side of the price.

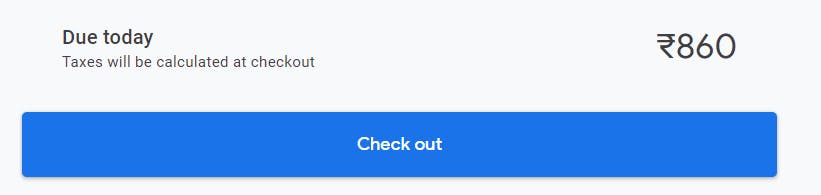
- Directly jump into the cart without any further ado.
 6.Keep the options as it is and simply scroll down to the bottom and click on
 Checkout button.
- It will ask you to log in to your google account if not done already.
- Once done, you will be landed on the contact detail form where you need to enter all the details as asked.
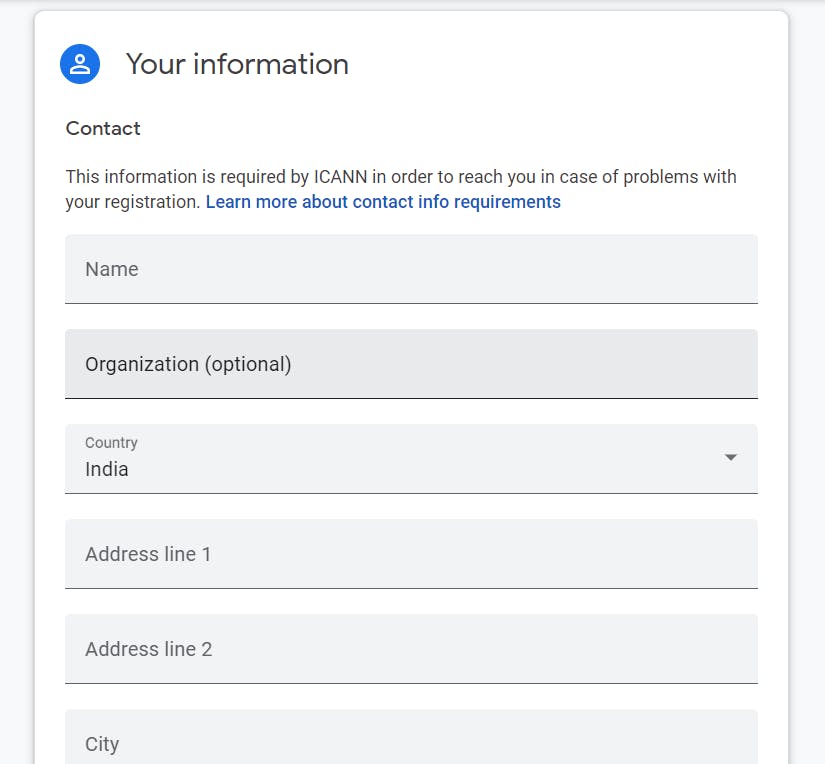
- After filling in all the required details, click the
Save & Continuebutton at the bottom right corner.
- And here is the last step, you need to enter all the required details to proceed with the payment and click on the
BUYbutton.

- Hurrah!! Congratulations, you have successfully purchased the domain and now, you are all set to host it.
Now comes the interesting part...
Hosting your Hashnode blog to the newly purchased domain:
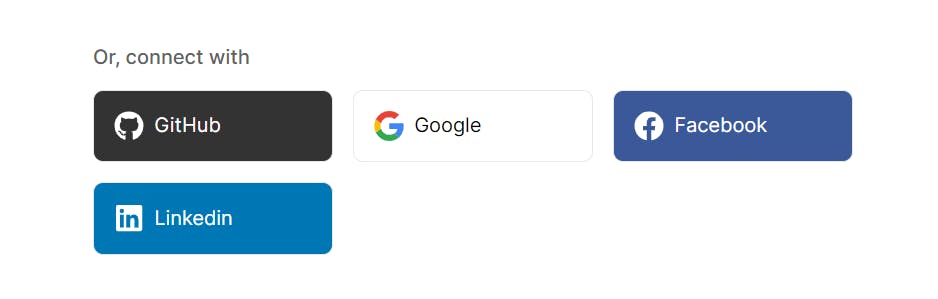
- Login to Hashnode with your Github, Google, Facebook, or Linkedin account.
- Once logged in, simply click on your avatar ( bottom left corner) and you will be given a list of options to choose from.
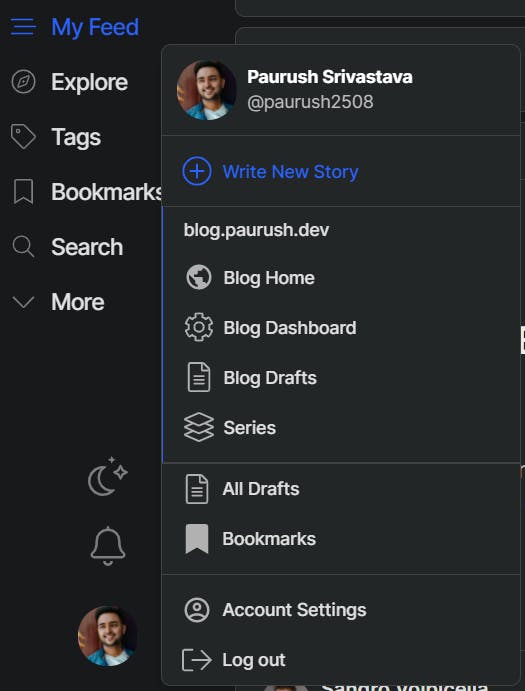
- Click on the
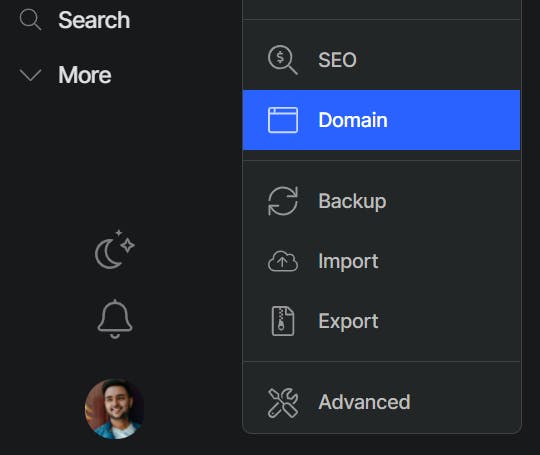
Blog Dashboardoption and you will be landed on the general settings page. - Without thinking much, simply scroll down to the bottom and click on the
Domainlying on the side panel.
- In the custom domain input field, type blog.yourdomain.dev ( yourdomain is to be replaced with your newly purchased domain)
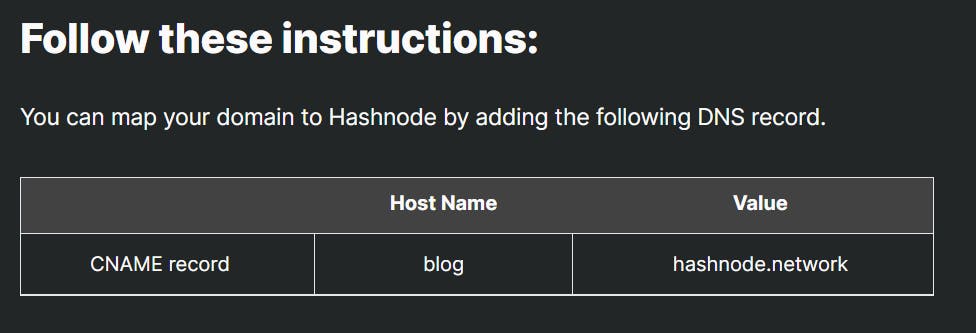
- Once done, you will get the DNS Information in order to link it with your domain.
- Now it's time to go to your Google Domains .
- Click on the
DNSoption on the left sidebar and once the page loads, click onManage custom records.

- Enter the details which you got from the hashnode instruction. Follow the reference below:

- Click on
Savebutton and BOOM!! your hashnode blog is now linked with the subdomain of your newly purchased domain.
I am sure you would have followed every step as mentioned and would be able to host your blog. Thank you for reading this article!
Feel free to drop me an email at paurush2508@gmail.com , in case, you faced any challenge in following the above mentioned steps.
If you are not willing to risk the usual, you will have to settle for the ordinary.- Jim Rohn